Make your pottery pieces ceramic and coat them with our glaze then get them fired at your local kiln so that they are food and water safe!
This jar contains 50mls and will do 2 x mugs or a vase (allowing for 2 x coats of glaze).
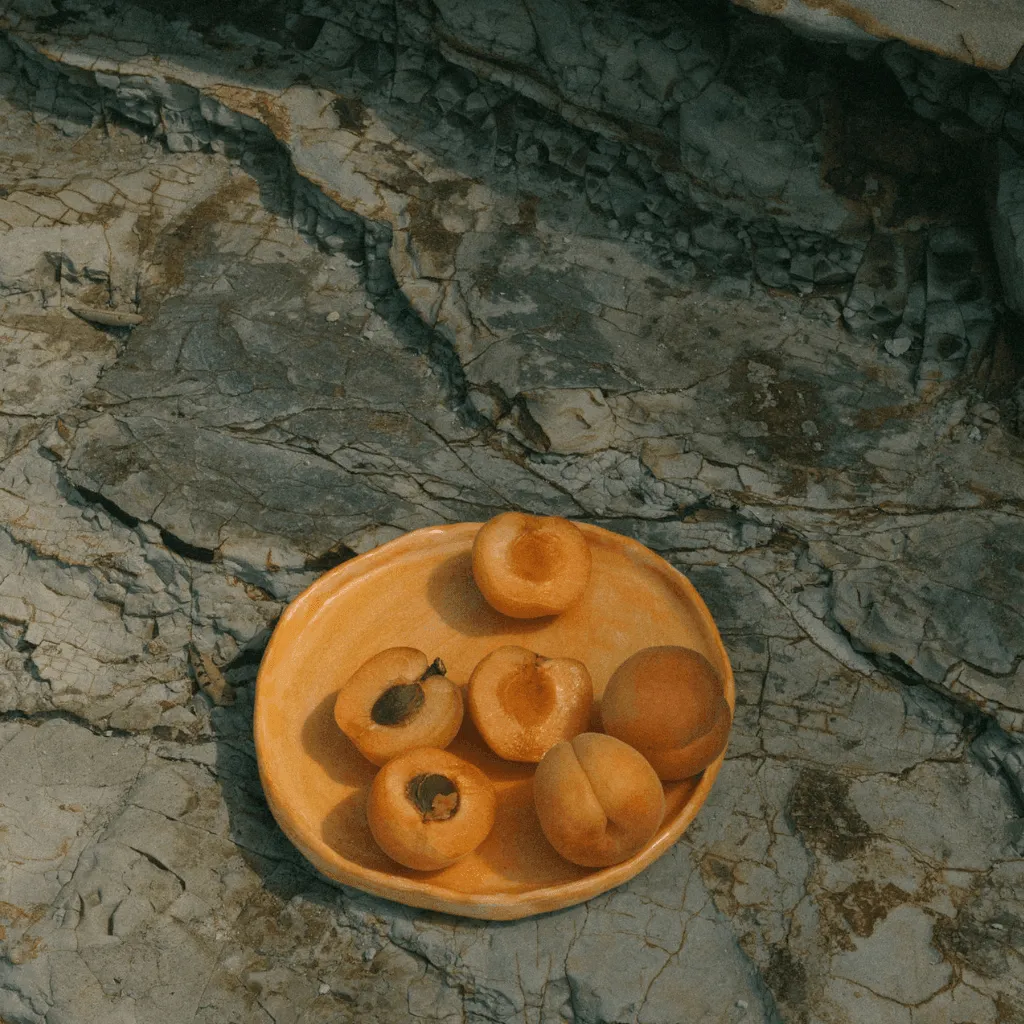
To make this orange glaze a peach colour like the plate pictured here, mix orange and together.
Check out our other colours .
These instructions are for only - all glazes have different application instructions and these ones are specifically for ours.
If you'd like to make your piece ceramic so that it is food and water safe follow the instructions below. Make sure that you DON'T apply any acrylic paint or our sealer to your piece. Please read all of this info before glazing :)
Leave your piece to dry for 2 days with a bag (like a bin liner) over it to slow the drying time down. Then take it off and dry for additional 2 weeks out of direct sunlight so that it becomes bone dry.
- Reach out to your local potters or pottery clubs to ask if they will fire it for you
- There will be a fee for this service (this will vary between kilns) and it is a two step process: Bisque & Gloss firing. Our clay can be bisque fired to 1000 ℃ and then gloss fired to 1220 ℃
GLAZING
These instructions are for OUR glaze on our clay only - all glazes have different application instructions and these ones are specifically for ours.
1. Shake the jar well. Glazes can be used singularly or mixed for desired colours.
2. Apply one even coat for a translucent finish with your brush - make sure you cover all the areas you want to be food safe, and don't apply any glaze to the bottom of your piece. Apply one more coat for an opaque finish (make sure you don't apply too much glaze or it might burn/melt in the kiln).
3. Don't apply more than 2 x coats and let your piece dry in between coats
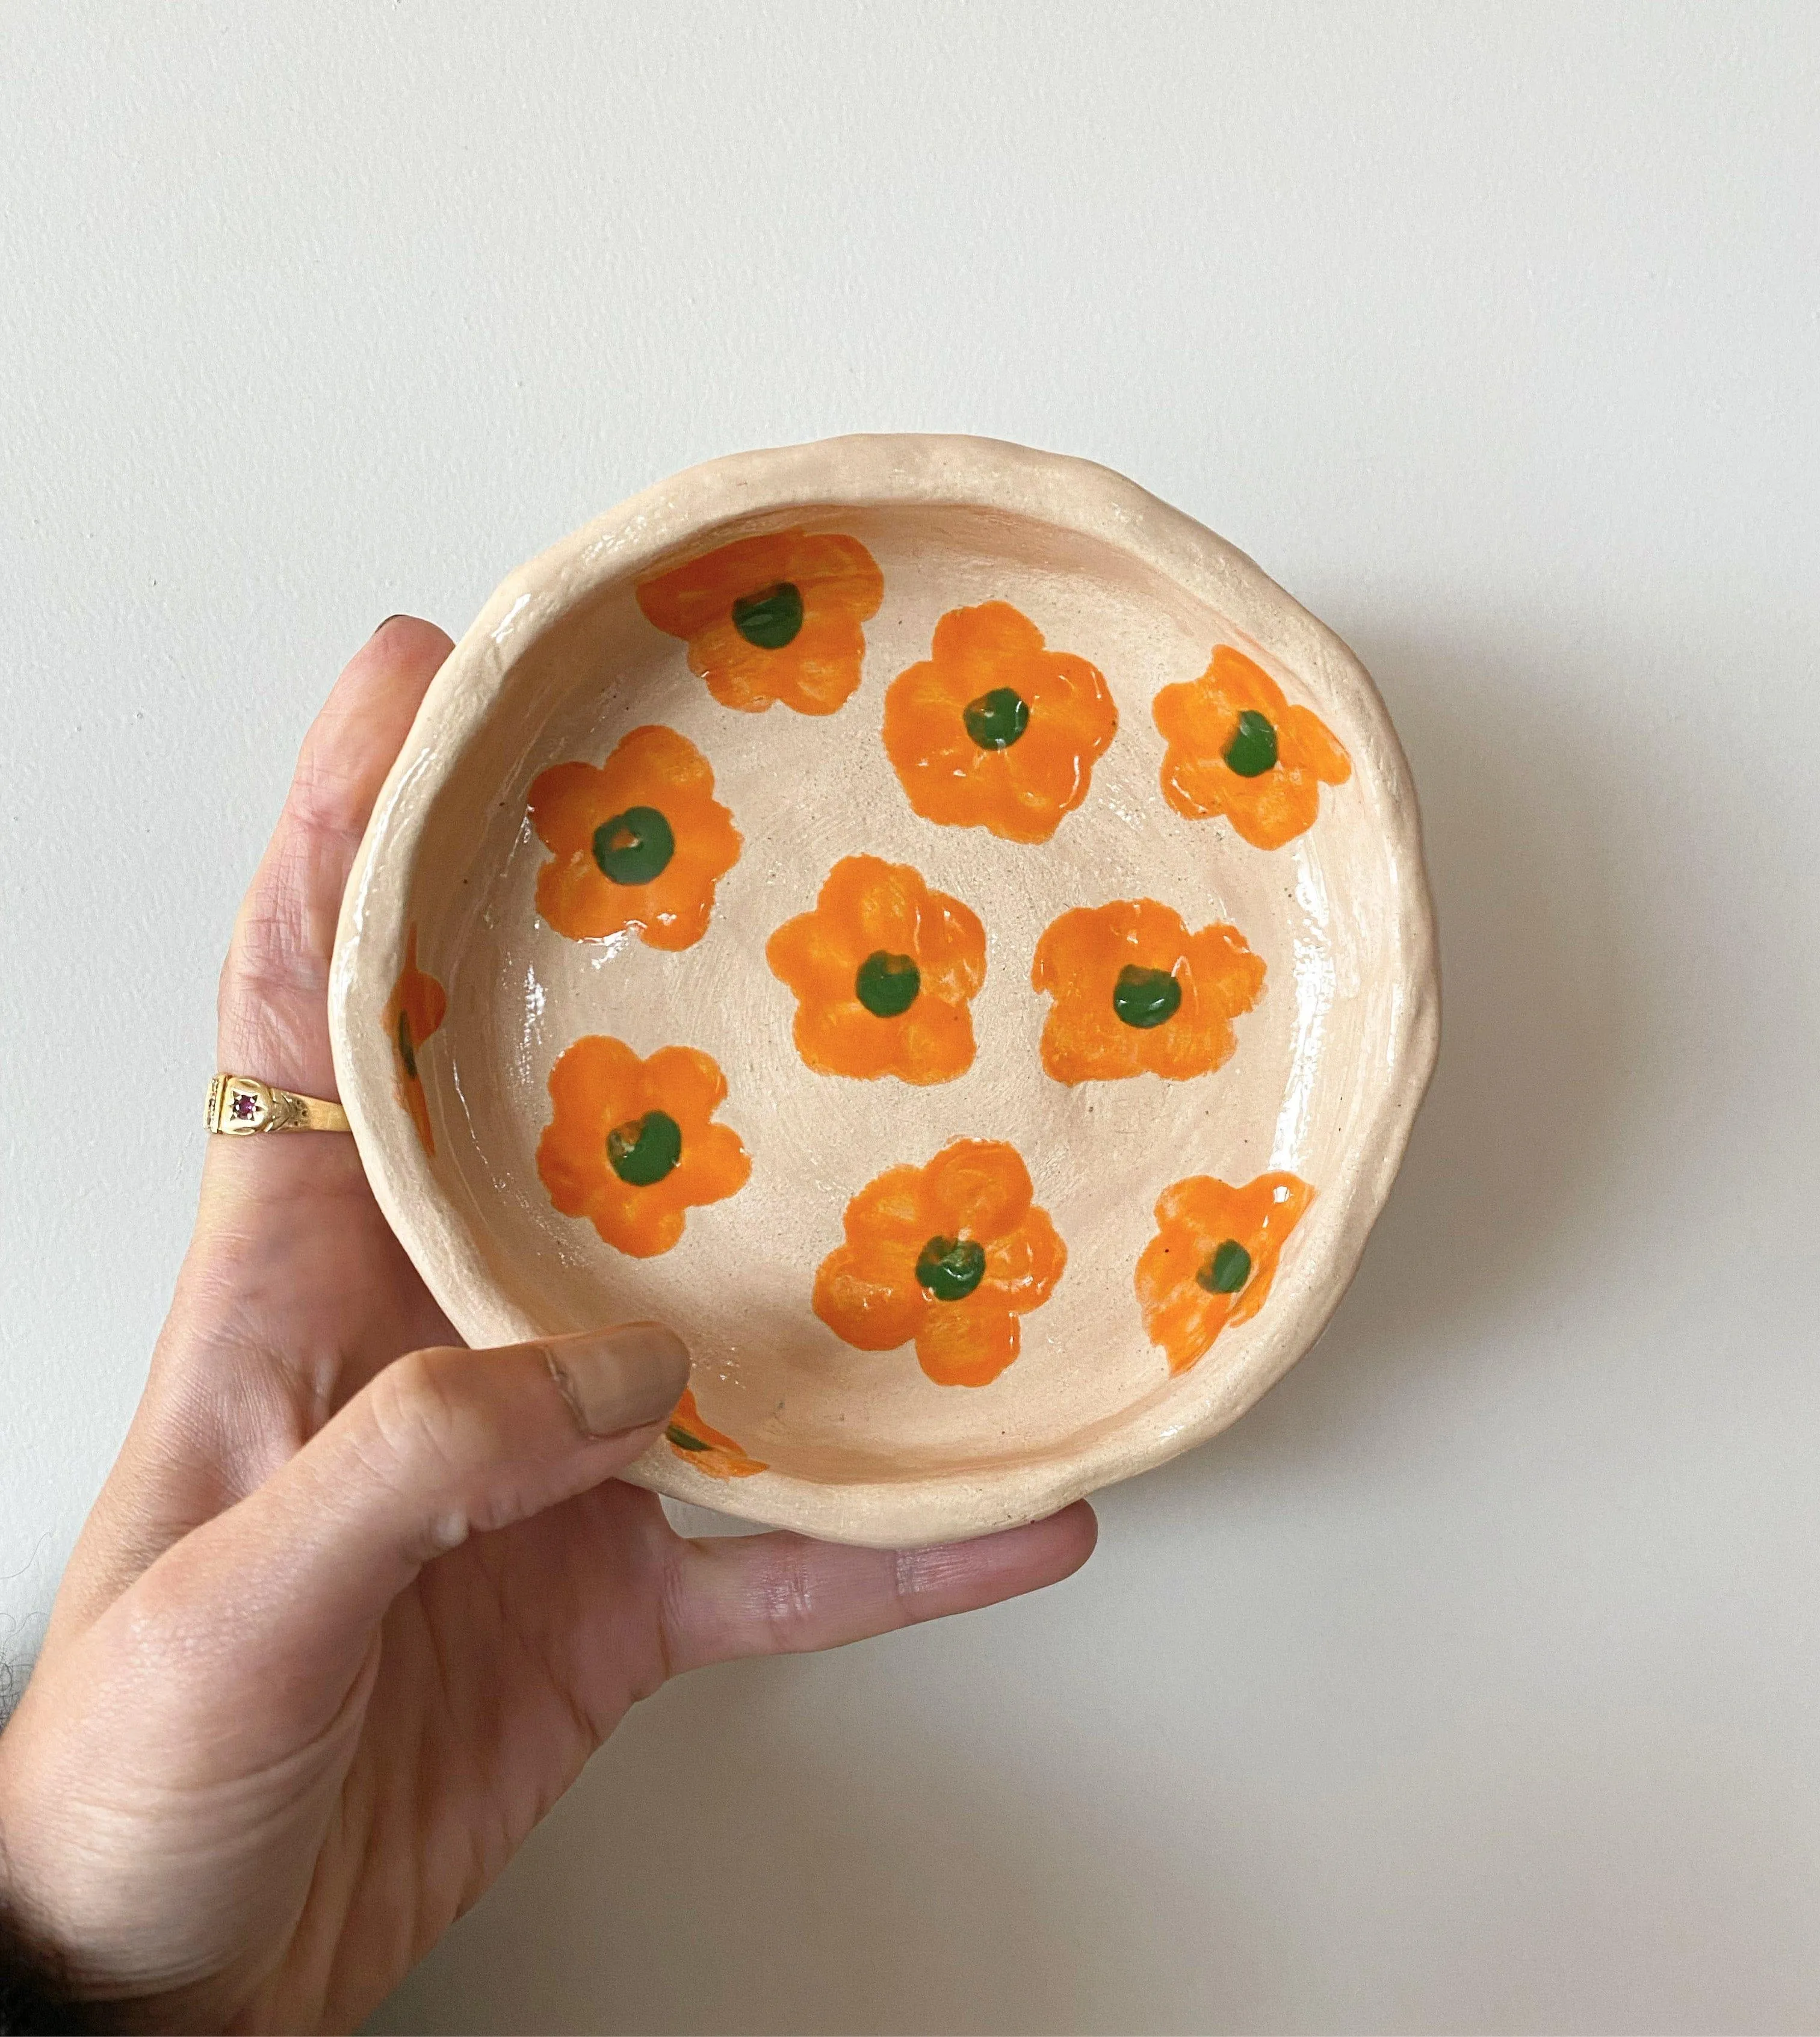
**If you only want to design areas of your piece (e.g. paint flowers on it), you'll need to ask the potter who is firing your work to apply a clear glaze to your piece after bisque firing to make sure the entire piece is food and water safe. We can't guarantee a good result though, as some clear glazes aren't a good fit for our clay and can crack in the kiln. So it's best to just cover your piece in our glaze.
4. Remove any excess glaze from the bottom of your piece with a damp sponge so that your piece doesn't stick to the kiln shelf.
5. Take to your local kiln to be bisque and gloss fired to. ** If your piece is fully covered with our glaze, there is no need for a clear glaze to be applied after bisque firing.


